Ratelimiting OTP endpoints
Without ratelimiting OTP endpoints you are exposed to brute force attacks, learn how to secure the endpoints using a ratelimiter.
Understanding OTP
A One-Time Password (OTP) is a unique code valid for only one login session or transaction. It adds an extra layer of security by preventing fraudulent access to your accounts, even if someone else knows your password. You've likely encountered OTPs many times. For instance, when logging into your bank account from a new device, you may receive an OTP via SMS or email, which you must enter to verify your identity. Another typical example is the login flow, where instead of entering a password, an OTP is sent to your email.
Without ratelimiting, an attacker could try several OTPs in quick succession in a so-called 'brute force attack' to find the right one to gain access to an account.
By limiting the number of OTP attempts within a specific timeframe, it becomes practically impossible for an attacker to guess the right OTP before it expires.
Implementing ratelimiting
Prerequisites
- Unkey account
- Unkey root key with permissions
create_namespace,limit
If you prefer, you can use our example here and skip the entire tutorial below. Also, if you want to see it live, you can see an implementation below using Unkey and Resend here
Before we begin with the tutorial, it should be stated that OTP implementations will have two separate requests: sending the OTP via email or SMS and verifying the request.
Let’s start with the sending of an OTP. Below is an insecure OTP implementation with a fake email that sends a random 6-digit code to the user via a next.js server action.
Adding ratelimiting to sending an OTP
First, you’ll need to install the @unkey/ratelimit package to your project and then add the following imports.
We will use the headers to retrieve the IP of the requester and use that as an identifier to limit against. Now we need to configure the ratelimiter
The above code will configure a new namespace named otp-send if it doesn’t exist and limit the requests to two per minute. Of course, any number of attempts, but two emails per minute should suffice for the end user.
Now that we have our ratelimiter configured, we can modify the request to first retrieve the IP address; this will check for both the forwarded IP address and the real IP from the headers. We will use the forwarded IP first and fall back to the real IP.
Now we have access to an identifier, and we can run our rate limit against it. Add the following code before checking if the user has provided an email.
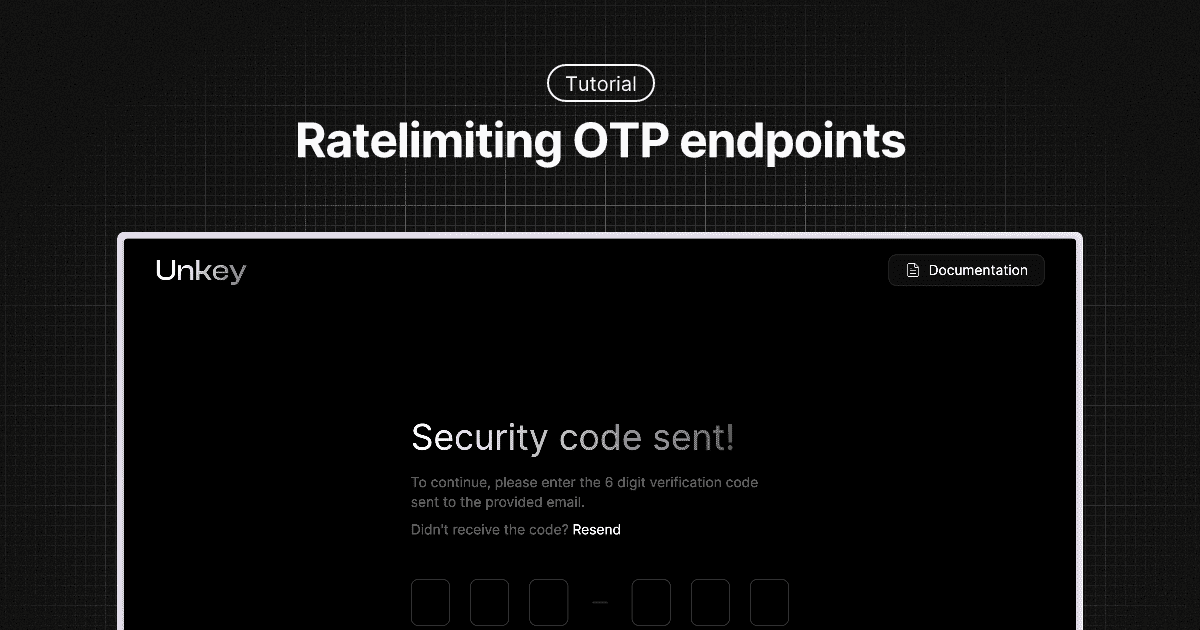
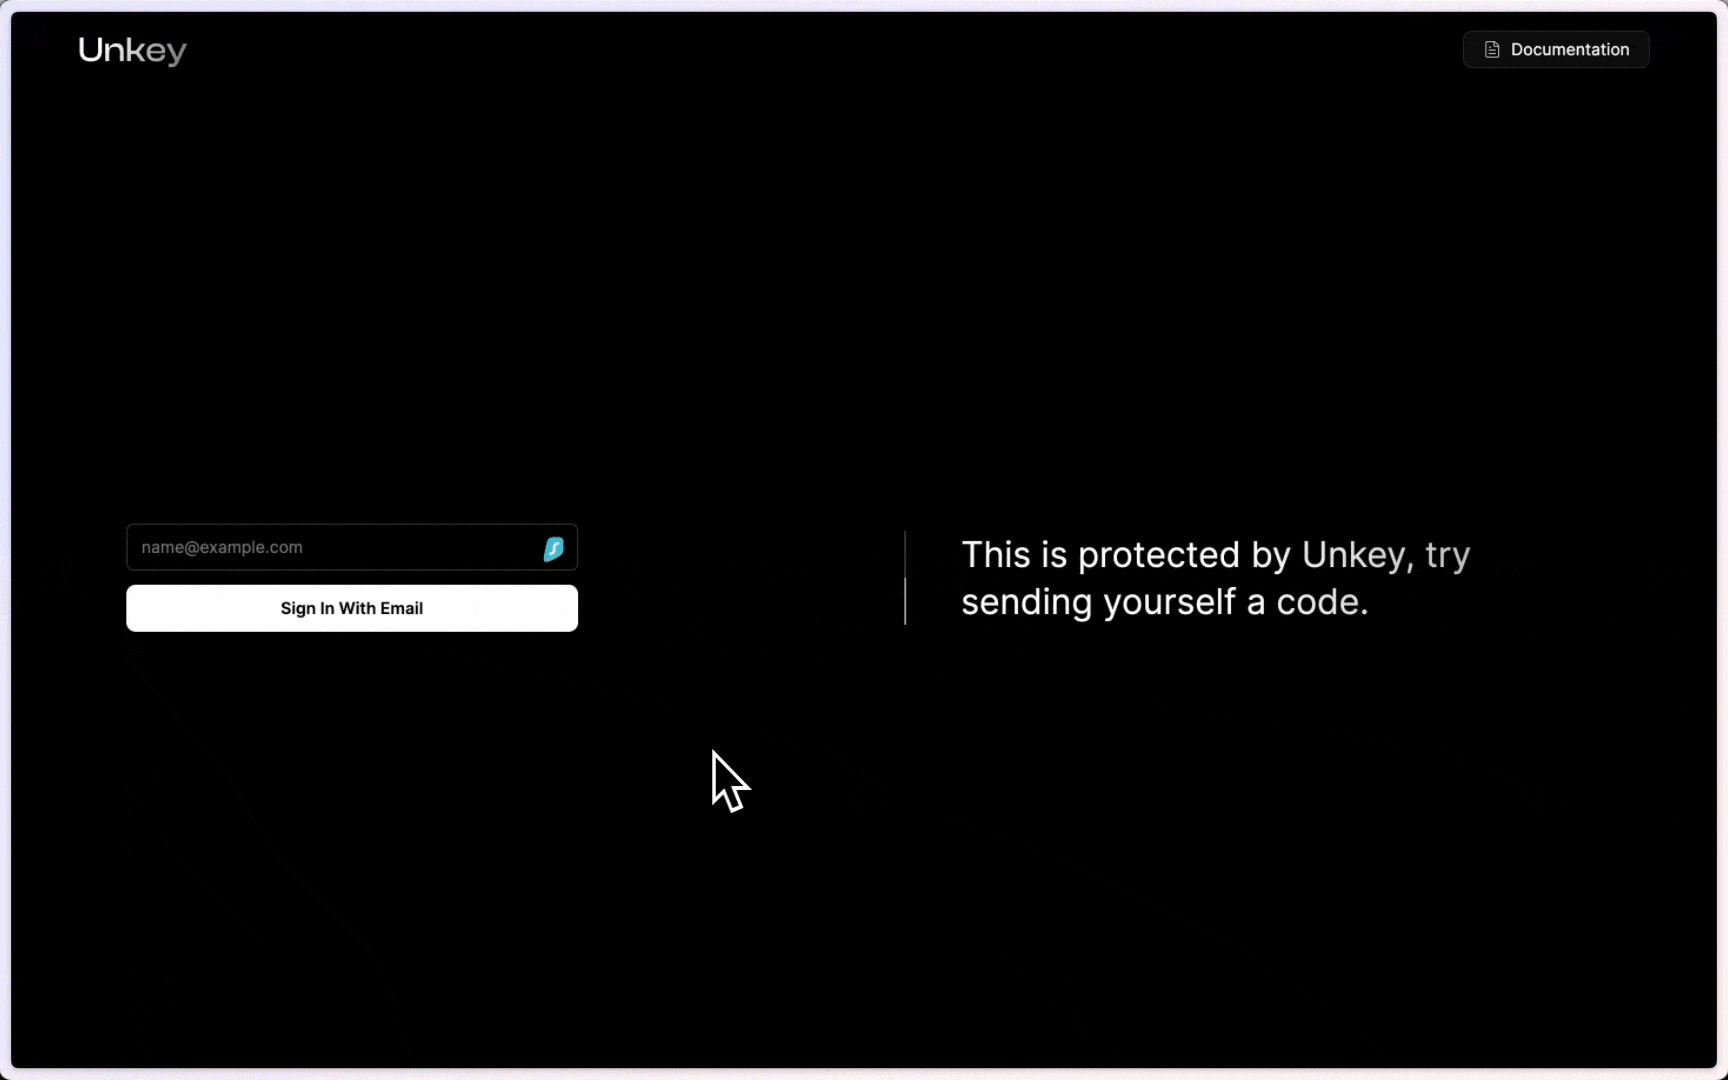
You’ll notice that we check for forwardedIP and then the realIP, and finally, if nothing is available, we will use no-ip for the fallback. This endpoint is now protected; a user can send two requests per minute. Below is a demo of how you could present this to the user:
Ratelimiting the OTP verification
The endpoint that verifies an OTP has more potential for brute force attacks; sending codes down with no restriction will give a bad actor plenty of time to try numerous codes to get the right one.
This is where the flexibility of ratelimiting for Unkey can come into play while it is similar to the above server action. For example
You can set the limits and namespace to be different, allowing you to be more restrictive and keep all your analytical data separated, for example.
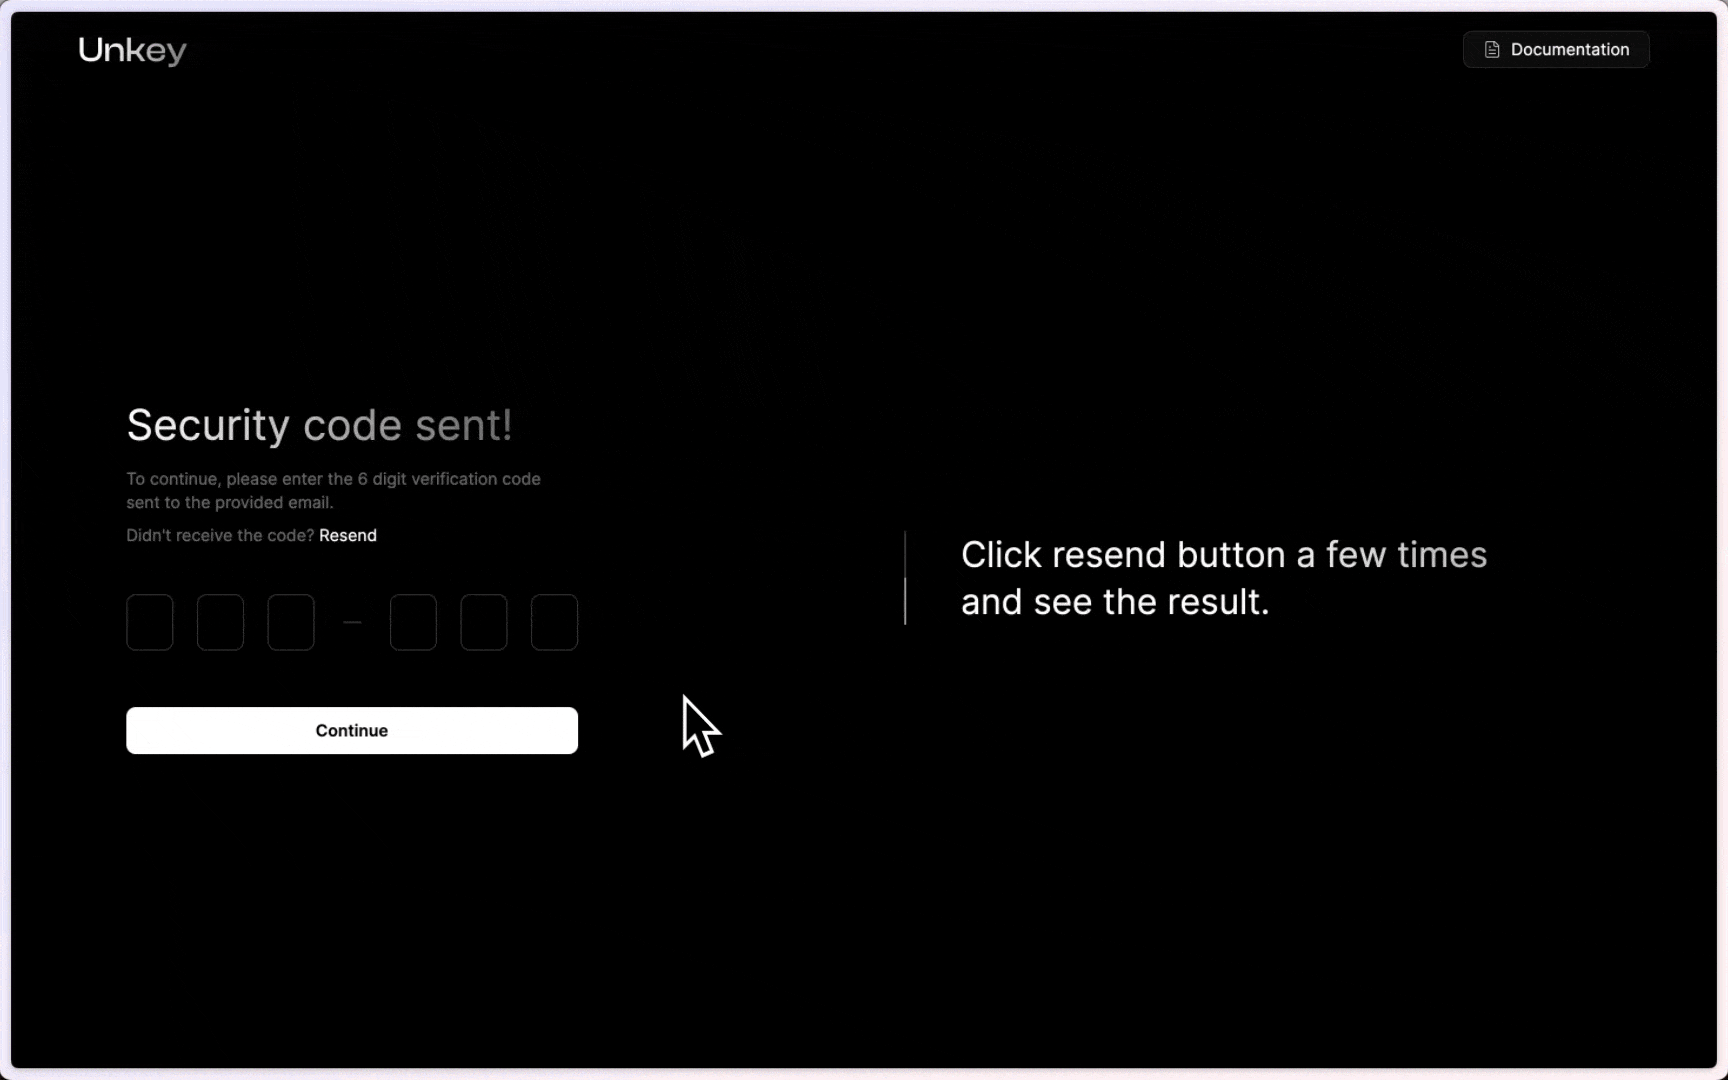
This operation will allow a user to try twice every 30 seconds before it ratelimits the operation for the IP. Below is an example of how this could look in your application from the example code.
Best Practices in Rate Limiting OTP
Implementing rate limiting is one thing, but ratelimiting effectively requires following best practices. Here are some tips:
- Set reasonable limits: Your users should have enough attempts to enter their OTP correctly, but not so many that an attacker could guess.
- Educate your users: Make sure your users understand why they're being blocked from logging in after too many attempts and how long they have to wait before they can try again.
- Monitor and adjust: Regularly review your system's performance and adapt your limits as needed.
These practices enhance the security and efficiency of OTPs while maintaining a positive user experience.
You can read more about Unkey’s Ratelimiting our documentation, you can see the demo of this in action and test what happens when you go over limits.
