Administrator: Has full access to all resources and functionality.Editor: Can create, read, update, and delete specific resources.Viewer: Can only view resources but cannot modify them.
Roles
Creating, updating and deleting roles is available in the dashboard.Create
- From the unkey dashboard app.unkey.com.
- Navigate to the
Authorizationsection in the left sidebar. - Click
Create New Role. - Enter a unique name for your role.
- Enter a description for your role. (Optional)
- Assign keys and permissions to the role. (Optional)
- Click
Create new role.
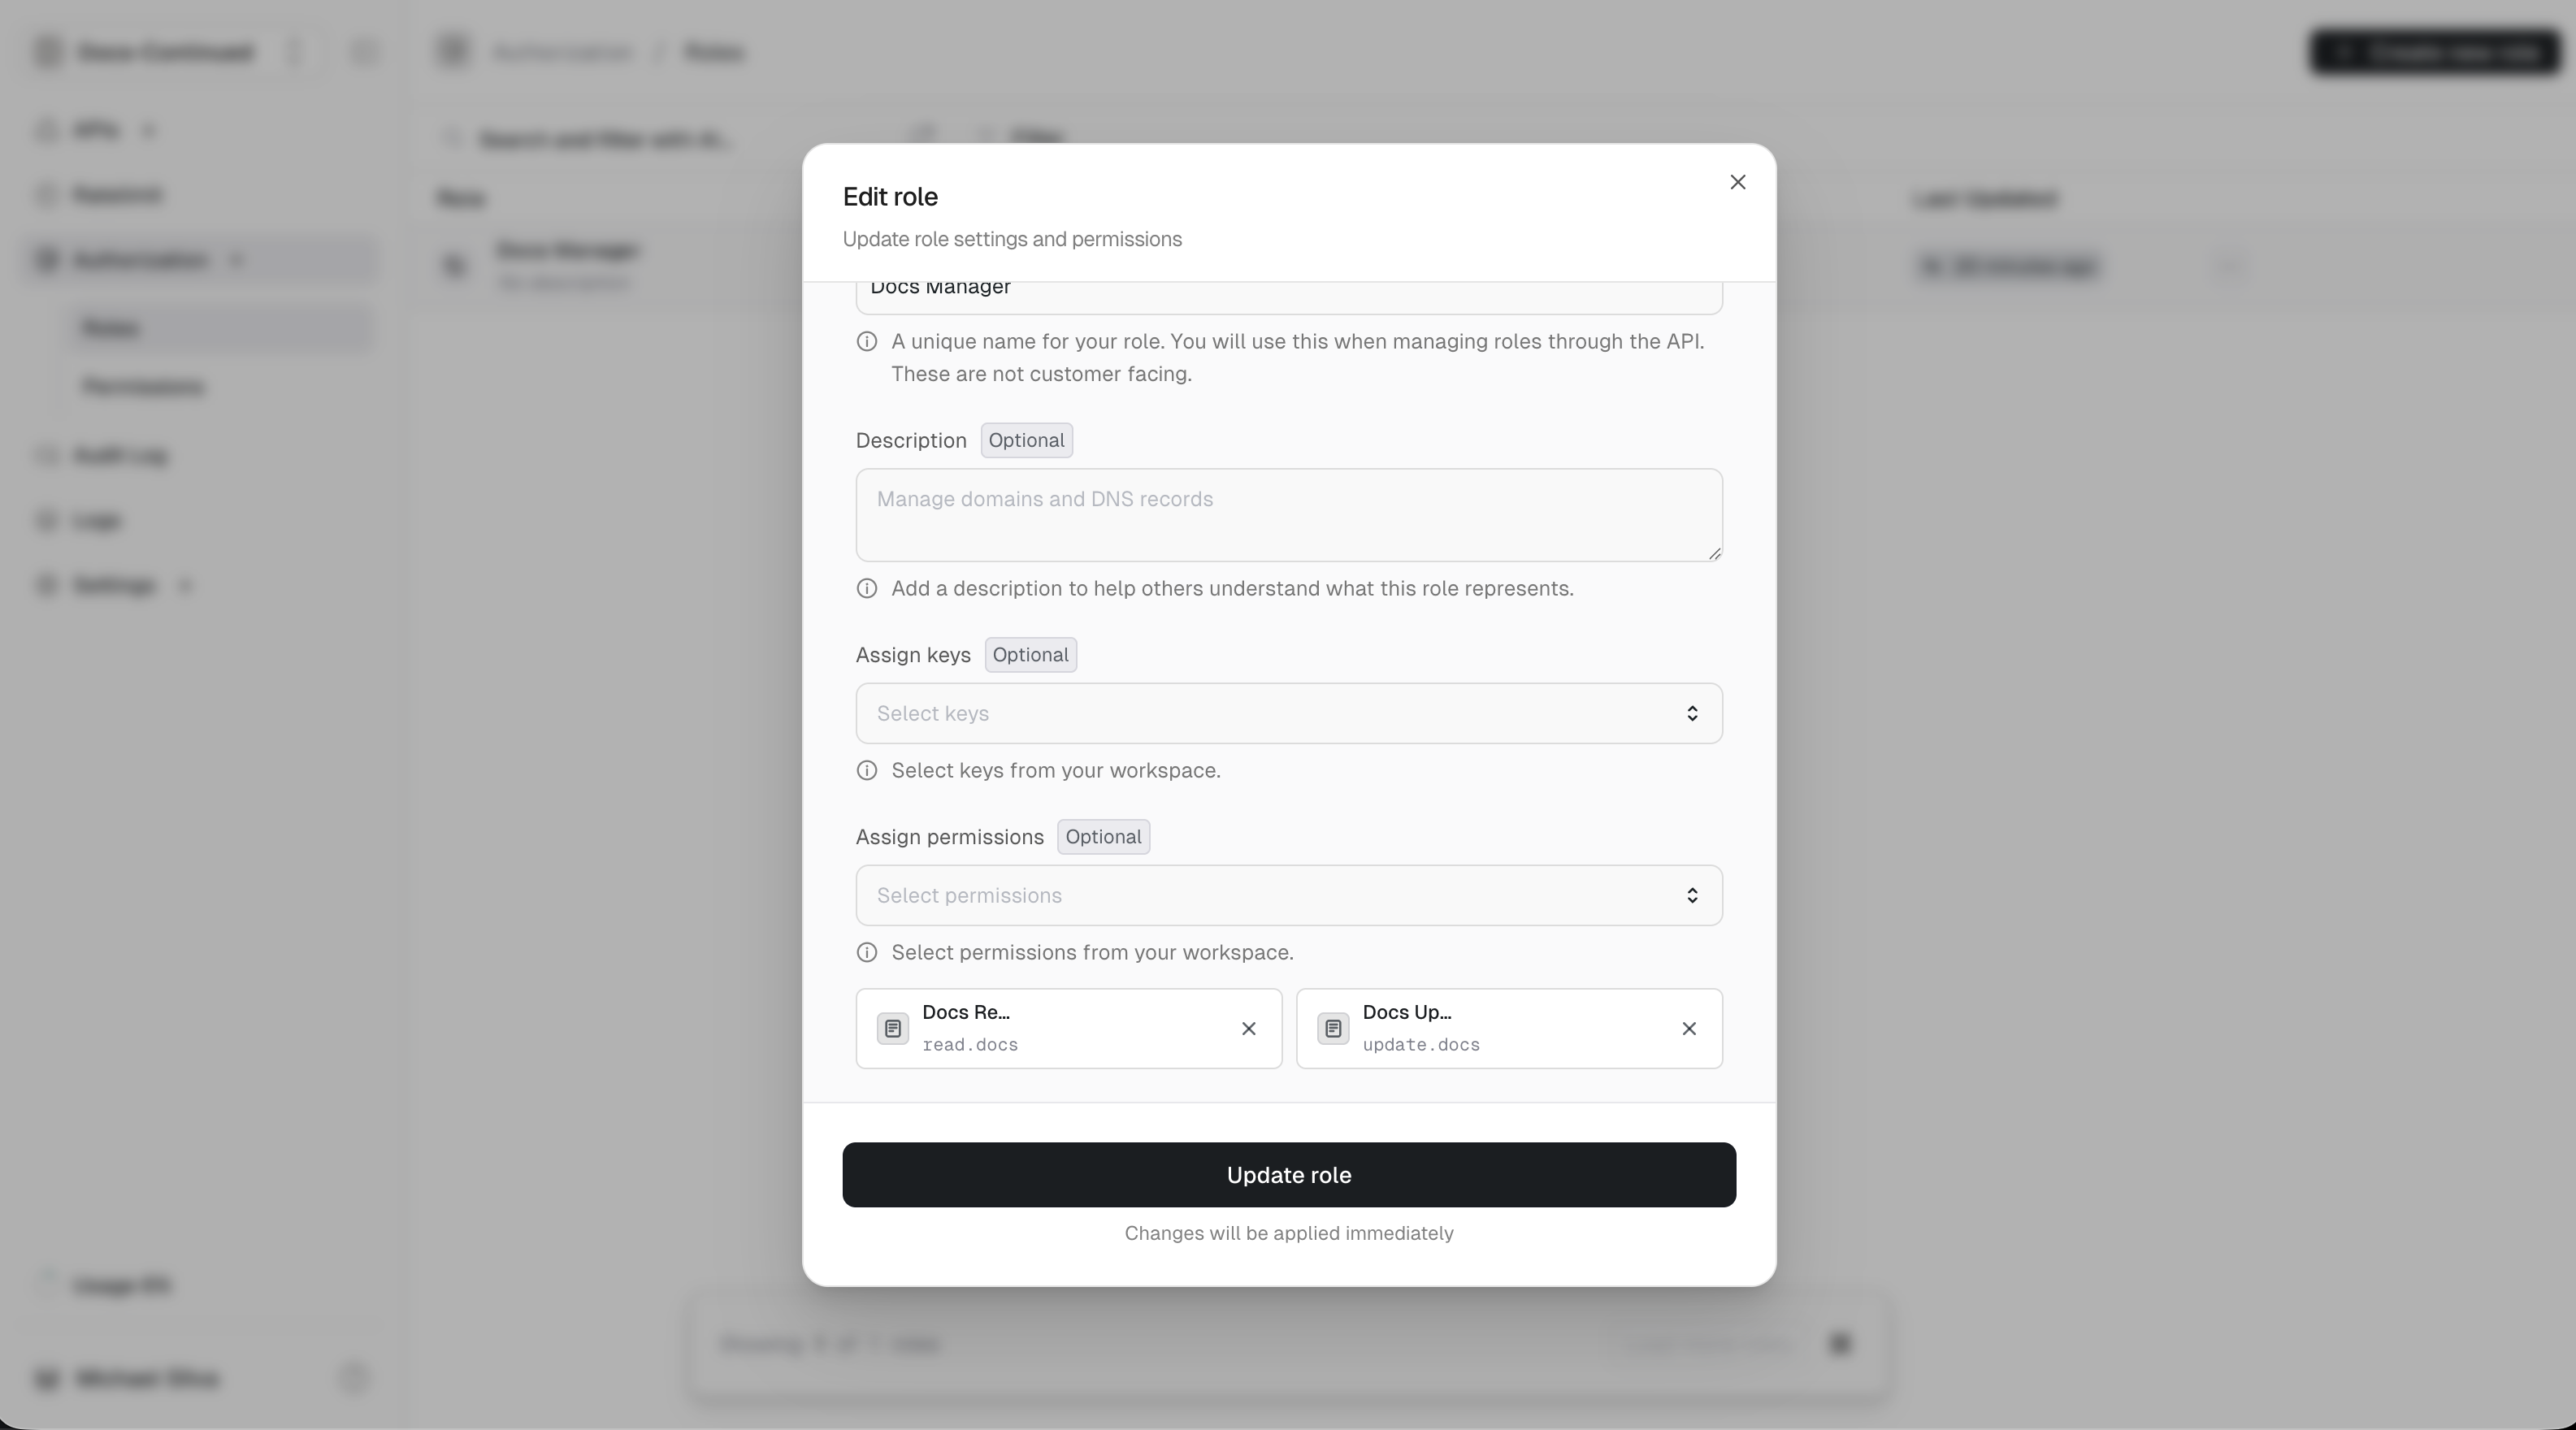
Update
- From the unkey dashboard app.unkey.com.
- Navigate to the
Authorizationsection in the left sidebar. - Click on the role you want to update. Optionally you can also click the action menu (
...) to the right of the role. - Make changes to the role as needed.
- Click
Update role.
Delete
- From the unkey dashboard app.unkey.com.
- Navigate to the
Authorizationsection in the left sidebar. - Click on the action menu (
...) to the right of the role you want to delete. - Click
Delete rolein the popup menu. - Toggle the checkbox confirming the deletion.
- Click
Delete rolebutton.
Permissions
Creating, updating and deleting permissions is available in the dashboard.Create
- From the unkey dashboard app.unkey.com.
- Navigate to the
Authorizationsection in the left sidebar. - Click on
Permissionsin the left sidebar dropdown under theAuthorizationsection. - Click
Create New Permission. - Enter a human readable name for your permission.
- Enter a unique identifier slug.
- Enter a description for your permission. (Optional)
- Click
Create new permission.
Update
- From the unkey dashboard app.unkey.com.
- Navigate to the
Authorizationsection in the left sidebar. - Click on
Permissionsin the left sidebar dropdown under theAuthorizationsection. - Click on the permission you want to update. Optionally you can also click the action menu (
...) to the right of the permission. - Make changes to the name, slug, and description as needed.
- Click
Update permission.
Delete
- From the unkey dashboard app.unkey.com.
- Navigate to the
Authorizationsection in the left sidebar. - Click on
Permissionsin the left sidebar dropdown under theAuthorizationsection. - Click on the action menu (
...) to the right of the permission you want to delete. - Click
Delete permission. - Toggle the checkbox confirming the deletion.
- Click
Delete permissionbutton.
Connecting roles and permissions
After you have created at least 1 role and 1 permission, you can start associating them with each other.- From the unkey dashboard app.unkey.com.
- Navigate to the
Authorizationsection in the left sidebar. - Click on the role you want to update. Optionally you can also click the action menu (
...) to the right of the role. - Select the
Add permissionsinput. Each item you select will be added to the selected permissions list below the input. This can be repeated to connect multiple permissions. - Click
Update role.
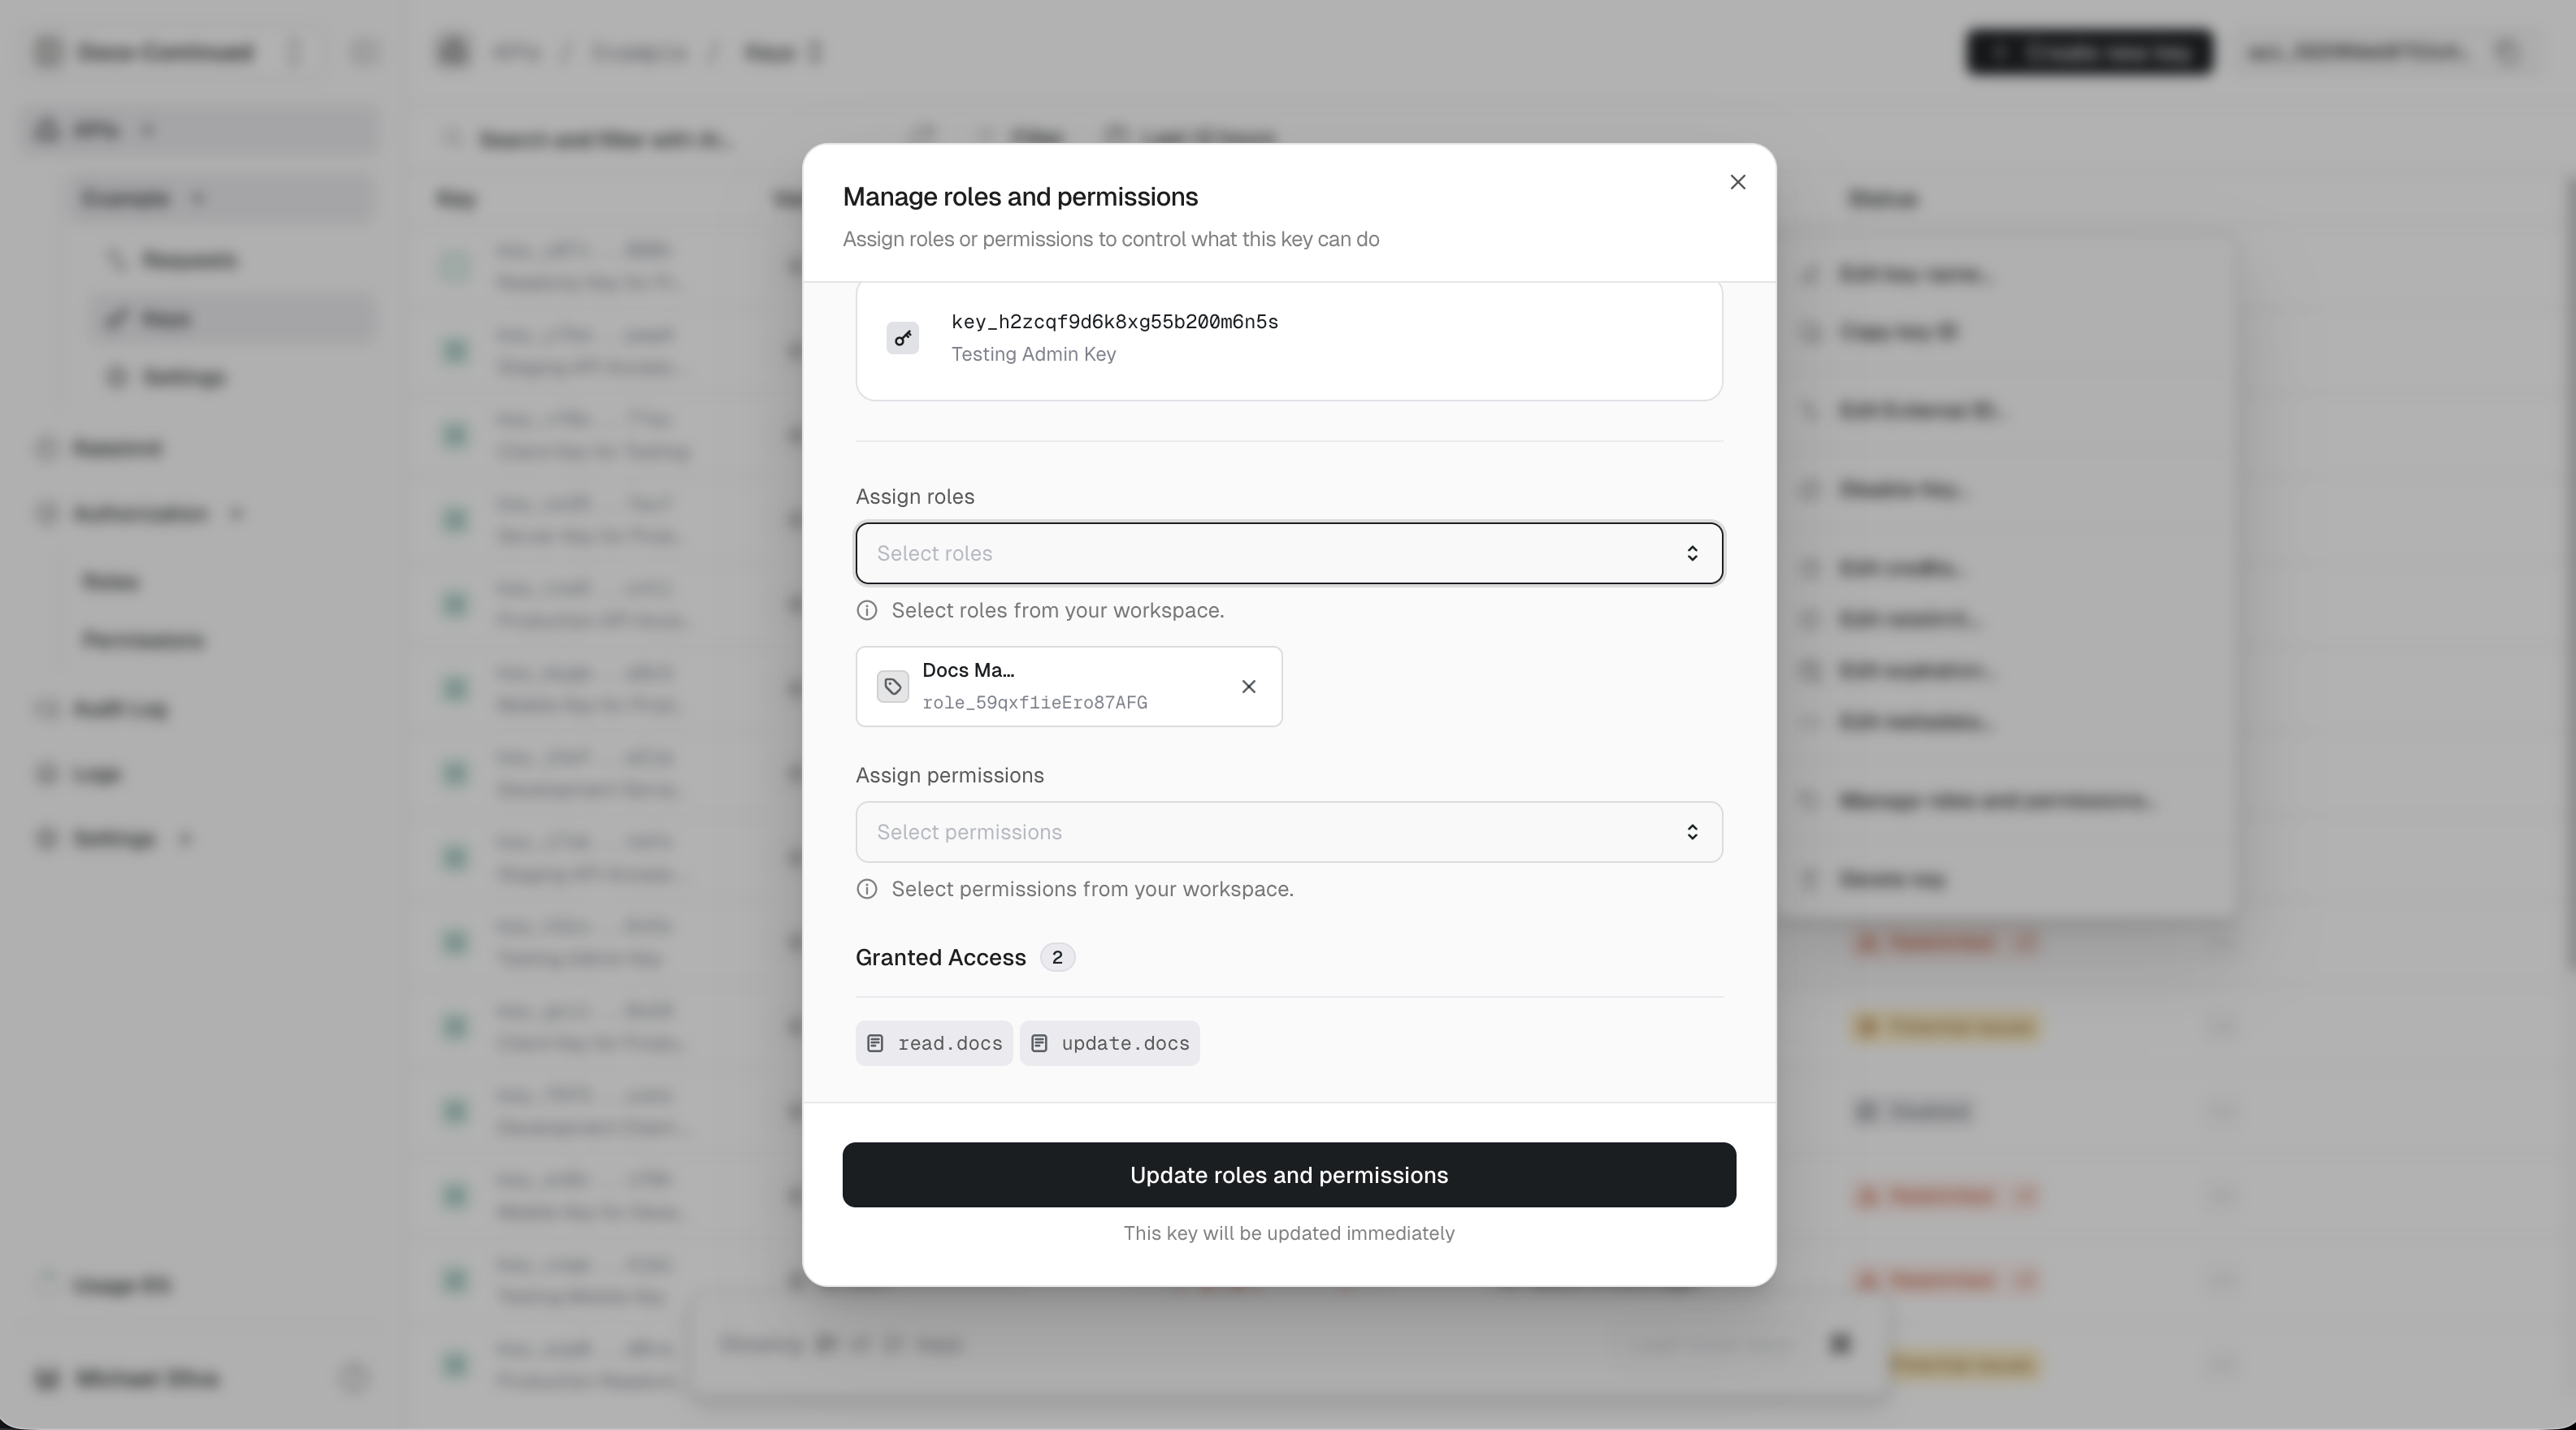
Connecting roles to keys
- In the sidebar, click on one of your APIs.
- In the sub menu, click on Keys.
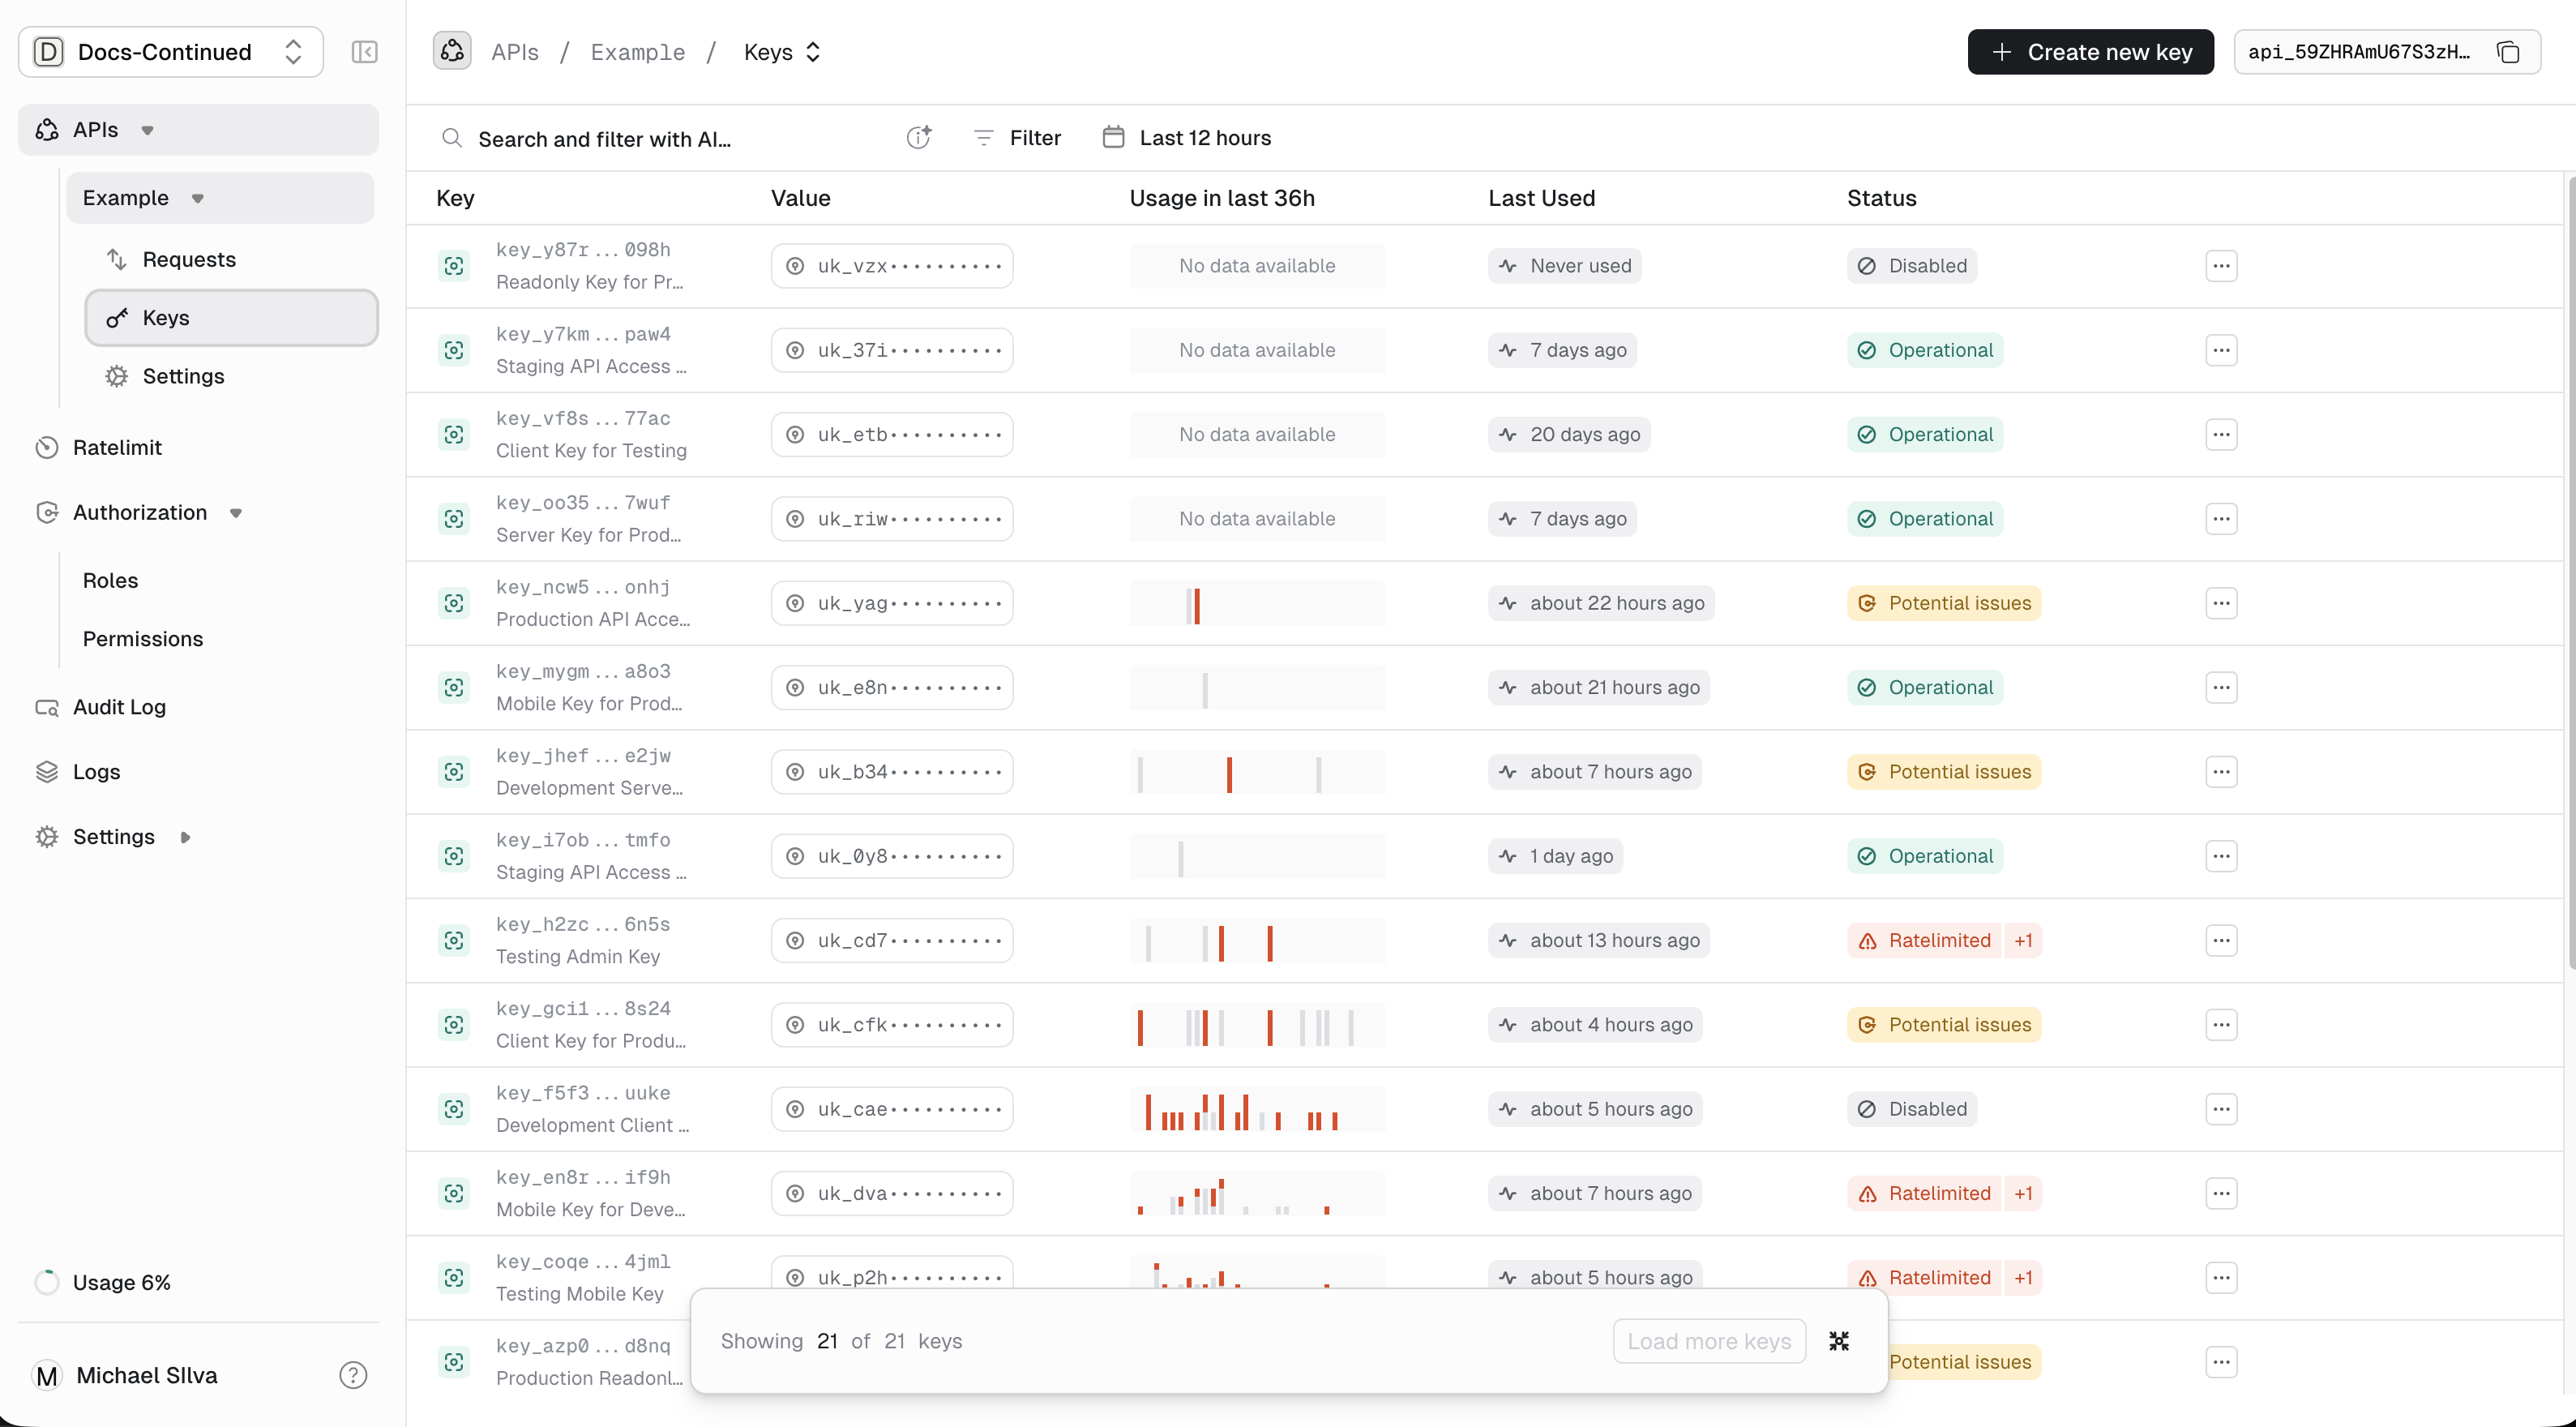
- Select one of your existing keys by clicking the action menu (
...) to the right of the key. - Select the
Manage roles and Permissions...option. - Select a
roleorpermissionfrom appropriate input. - Click
Update key.