

Prerequisites
1
Create an Unkey account
Sign up at app.unkey.com
2
Create a workspace and keyspace
Note your 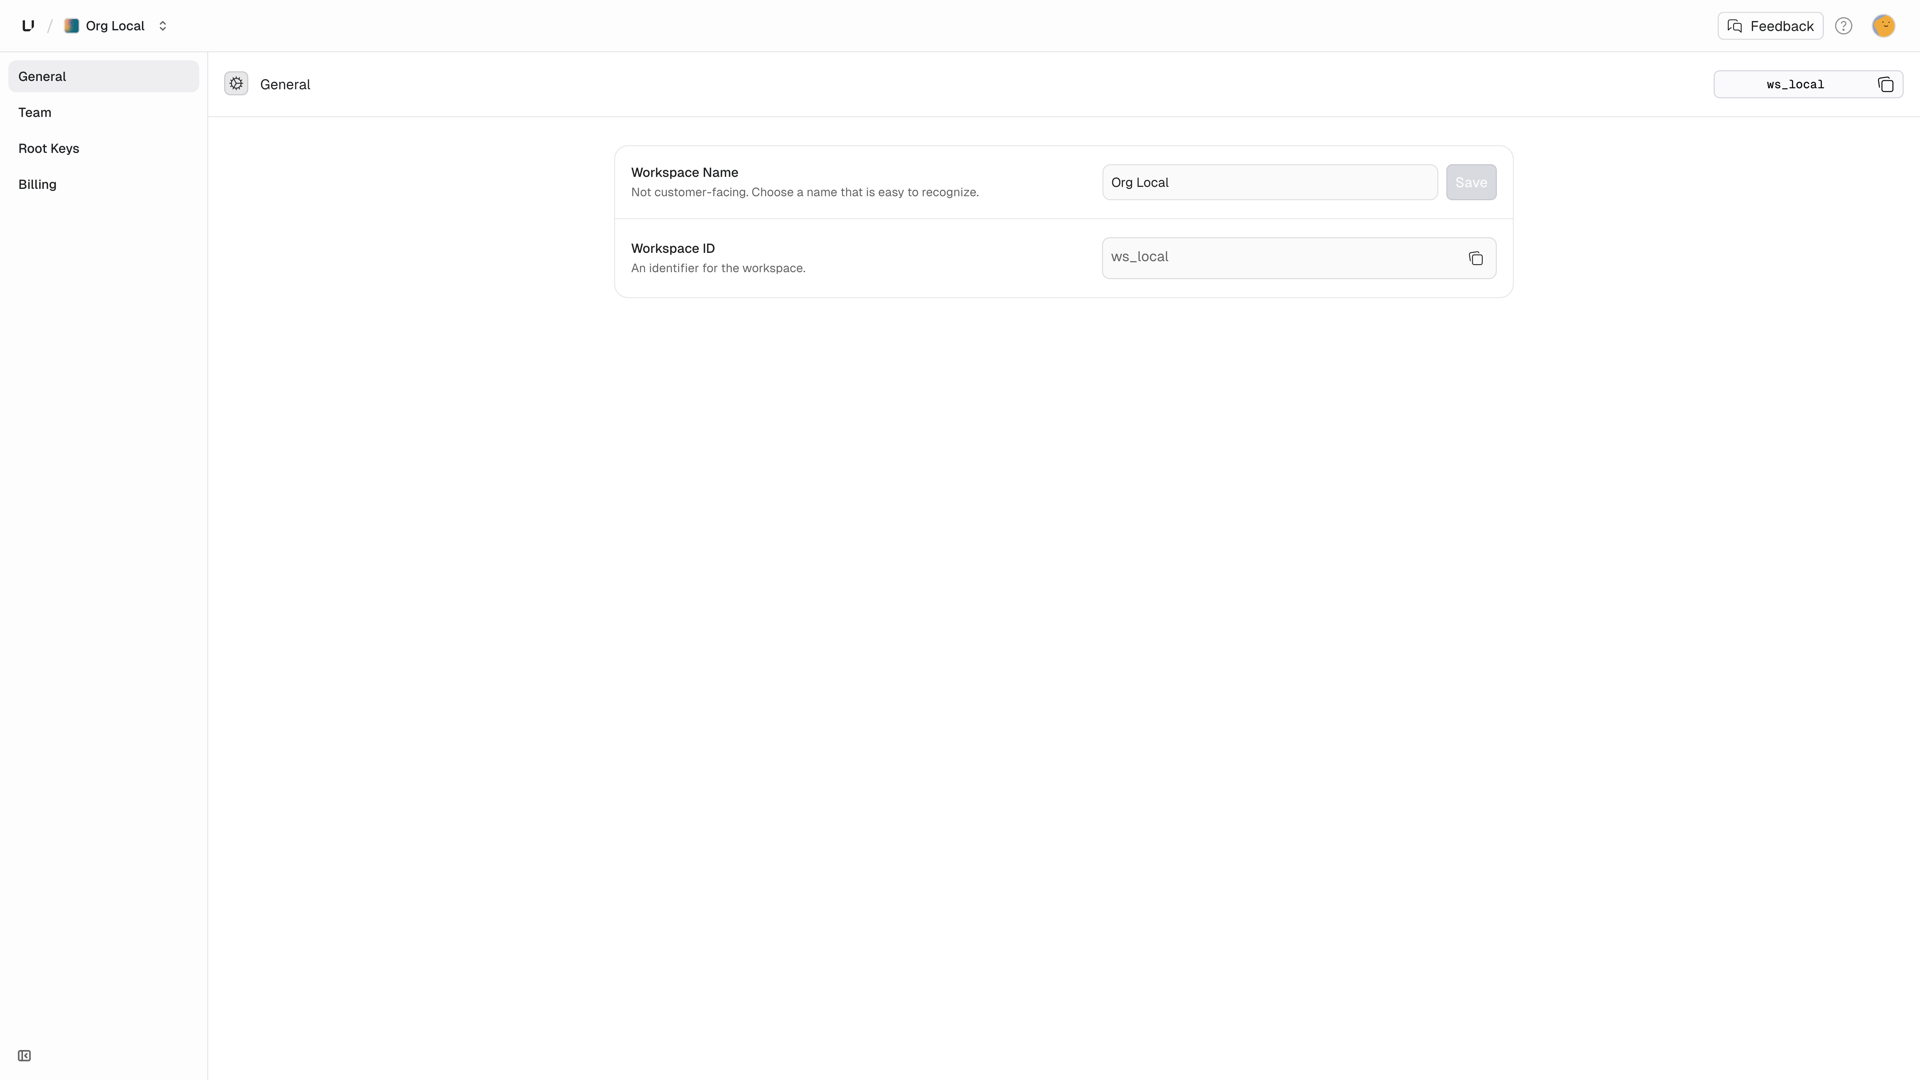
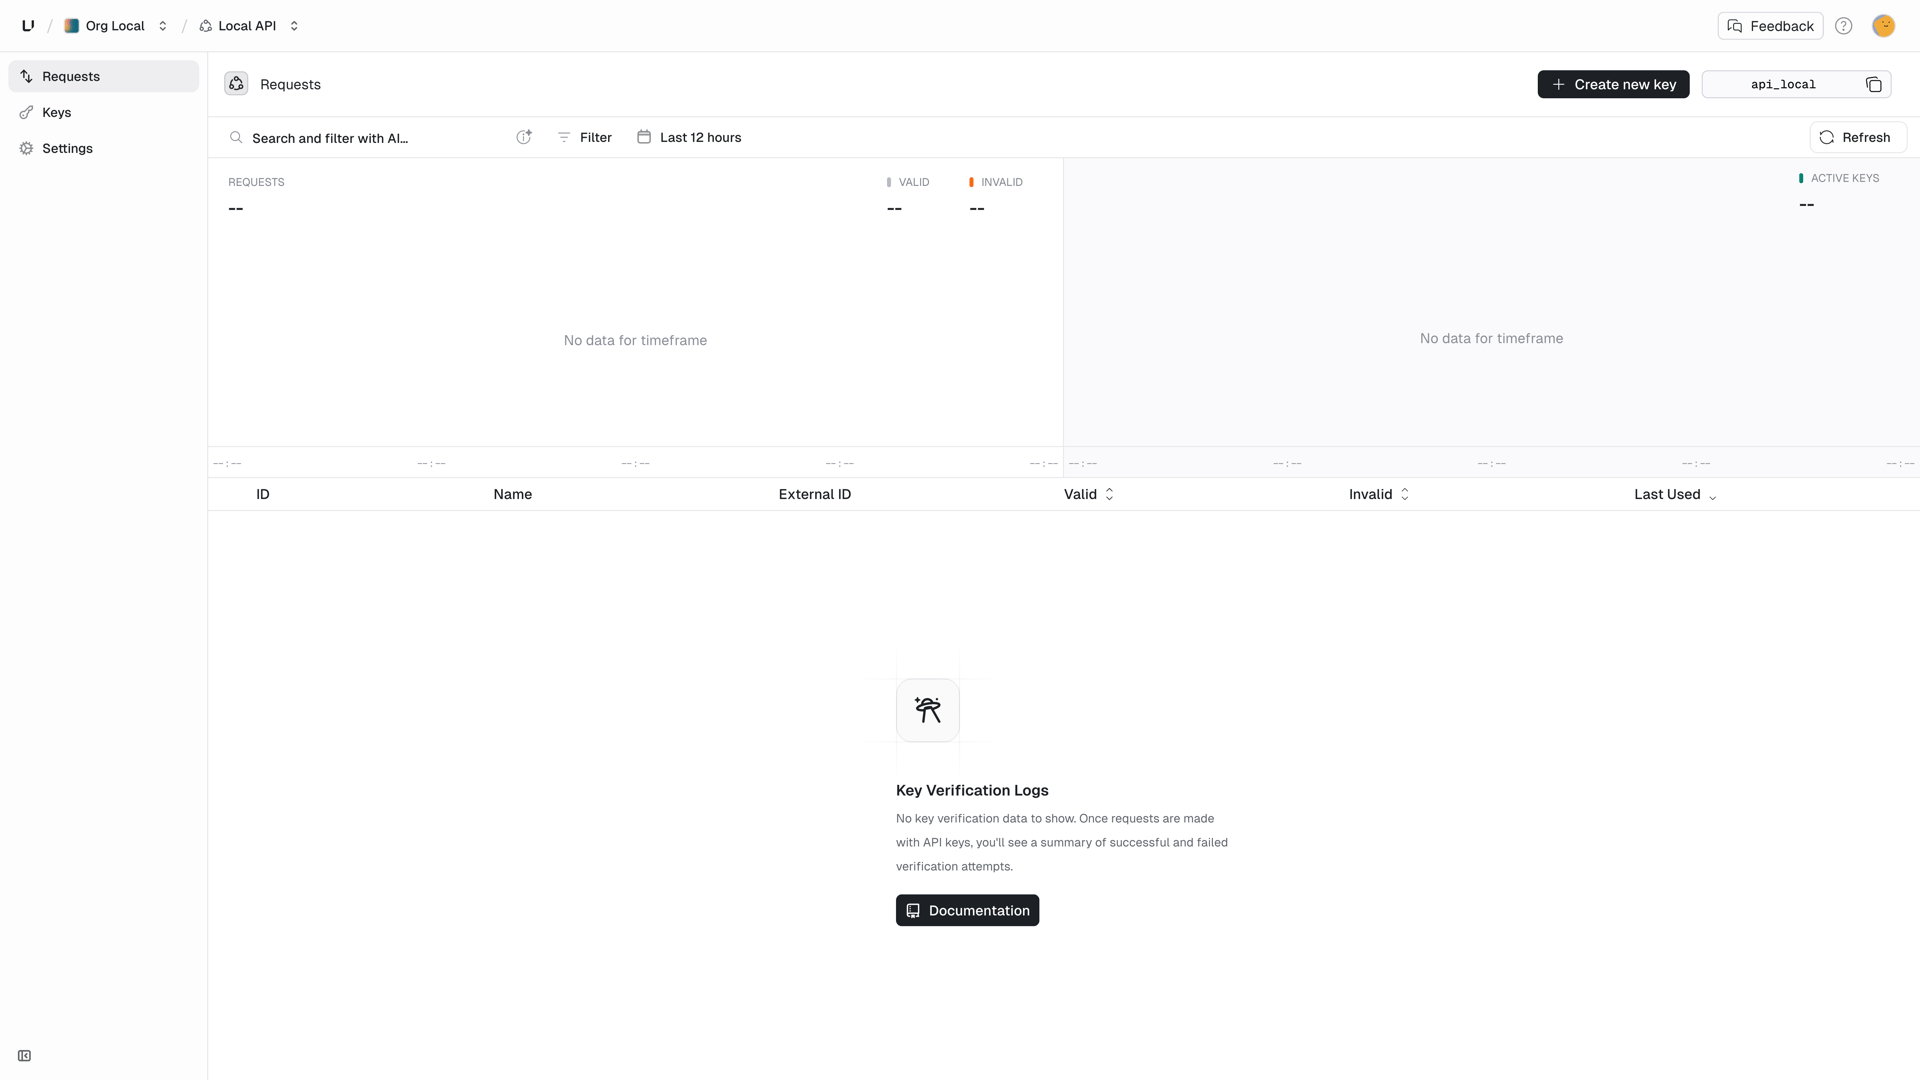
workspaceId and apiId: - Workspace ID: Settings → General
(upper right corner)- API ID: Keyspaces → Your keyspace (upper right corner)
3
Create a root key
Go to Settings → Root Keys and create one with the 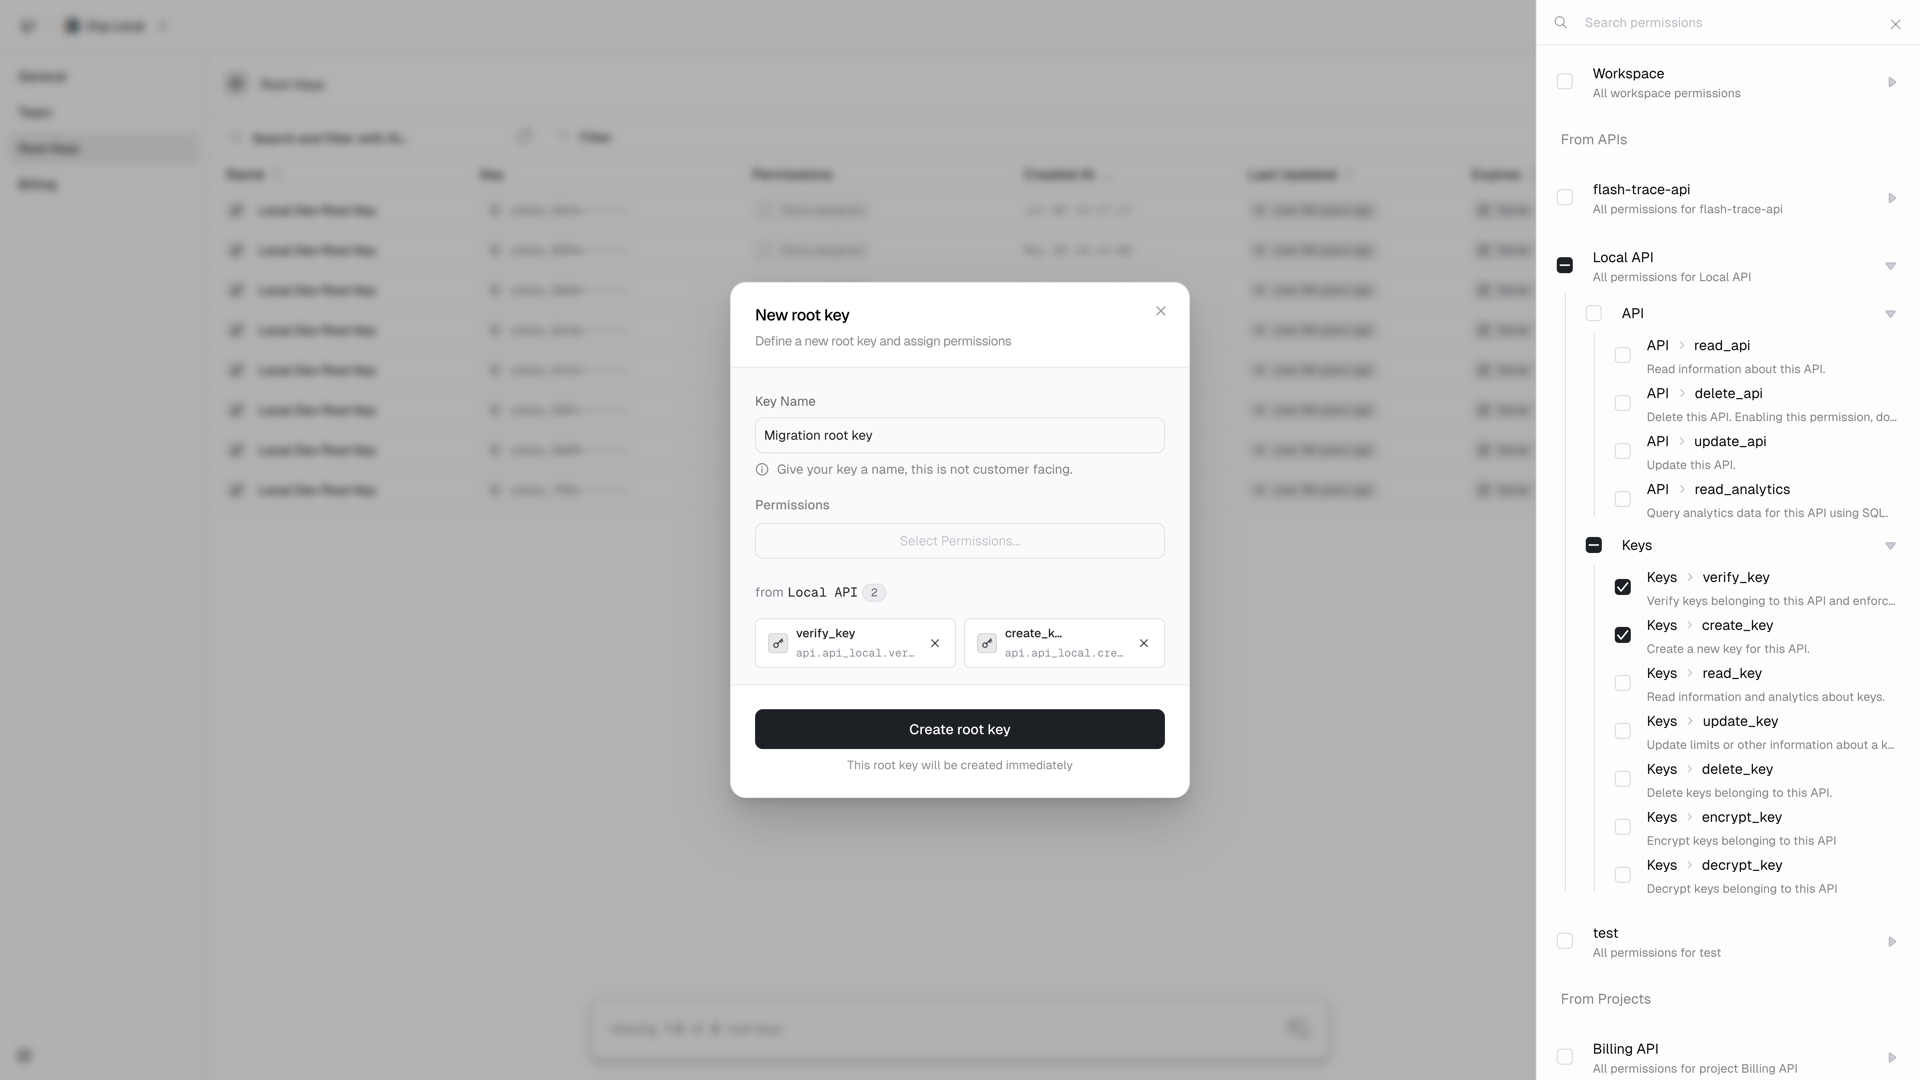
api.*.create_key
permission, or api.<api_id>.create_key to scope it to the keyspace you are
migrating into. If you also plan to verify keys through the API afterwards,
add api.*.verify_key.4
Get a migration ID
Email support@unkey.com with: - Your workspace
ID - Source system (PostgreSQL, Auth0, etc.) - Hash algorithm and key
format used We’ll set up a migration for your workspace and send you a
migrationId.Hash format
Unkey never stores plaintext keys. During migration you send the hash of each key, and the hash format is part of the migration we configure for you. When we send you yourmigrationId, we’ll confirm exactly what to submit as the hash value.
The most common setup is SHA-256 of the full key, base64 encoded, which is Unkey’s native format. Structured key formats from other providers (for example prefixed keys where only a token segment is hashed) are also supported.
Using a different hash algorithm or key format? Mention it when you contact
us and we’ll set up your migration accordingly.
Export your keys
Extract key hashes from your current system. Never include plaintext keys.Example: PostgreSQL
Example: MongoDB
Hash your keys (if not already hashed)
If you have plaintext keys, hash them before migration. For a standard SHA-256 migration:Migrate to Unkey
Use the migration API to import your keys:Response
The endpoint returns HTTP 200 even on partial success. Each migrated key comes back with its hash and the generatedkeyId, which you should store to manage the key later. Hashes that could not be migrated, for example because a key with that hash already exists, are listed as plain strings under failed:
Key configuration options
Onlyhash is required for each key. It is the hash string in the format agreed for your migration.
Everything else is optional and works the same as when creating keys: name for internal display, externalId to link the key to a user or entity in your system, meta for arbitrary JSON returned during verification, roles and permissions for access control, ratelimits and credits for usage control, expires as a Unix timestamp in milliseconds, and enabled to control whether the key is active (defaults to true).
See the API reference for the full schema of each field.
Batch migrations
For large migrations, batch your requests:Update your verification
After migration, update your API to verify keys with Unkey. Include yourmigrationId in each verify key request during the rollout:
migrationId lets Unkey match the key against your previous format and transparently convert it to Unkey’s native hash on first verification. Once every active key has been verified at least once, you can drop the parameter.
Rollback plan
Keep your old verification system running in parallel during migration:Need help?
Contact support
We’ll help you plan and execute your migration safely.